
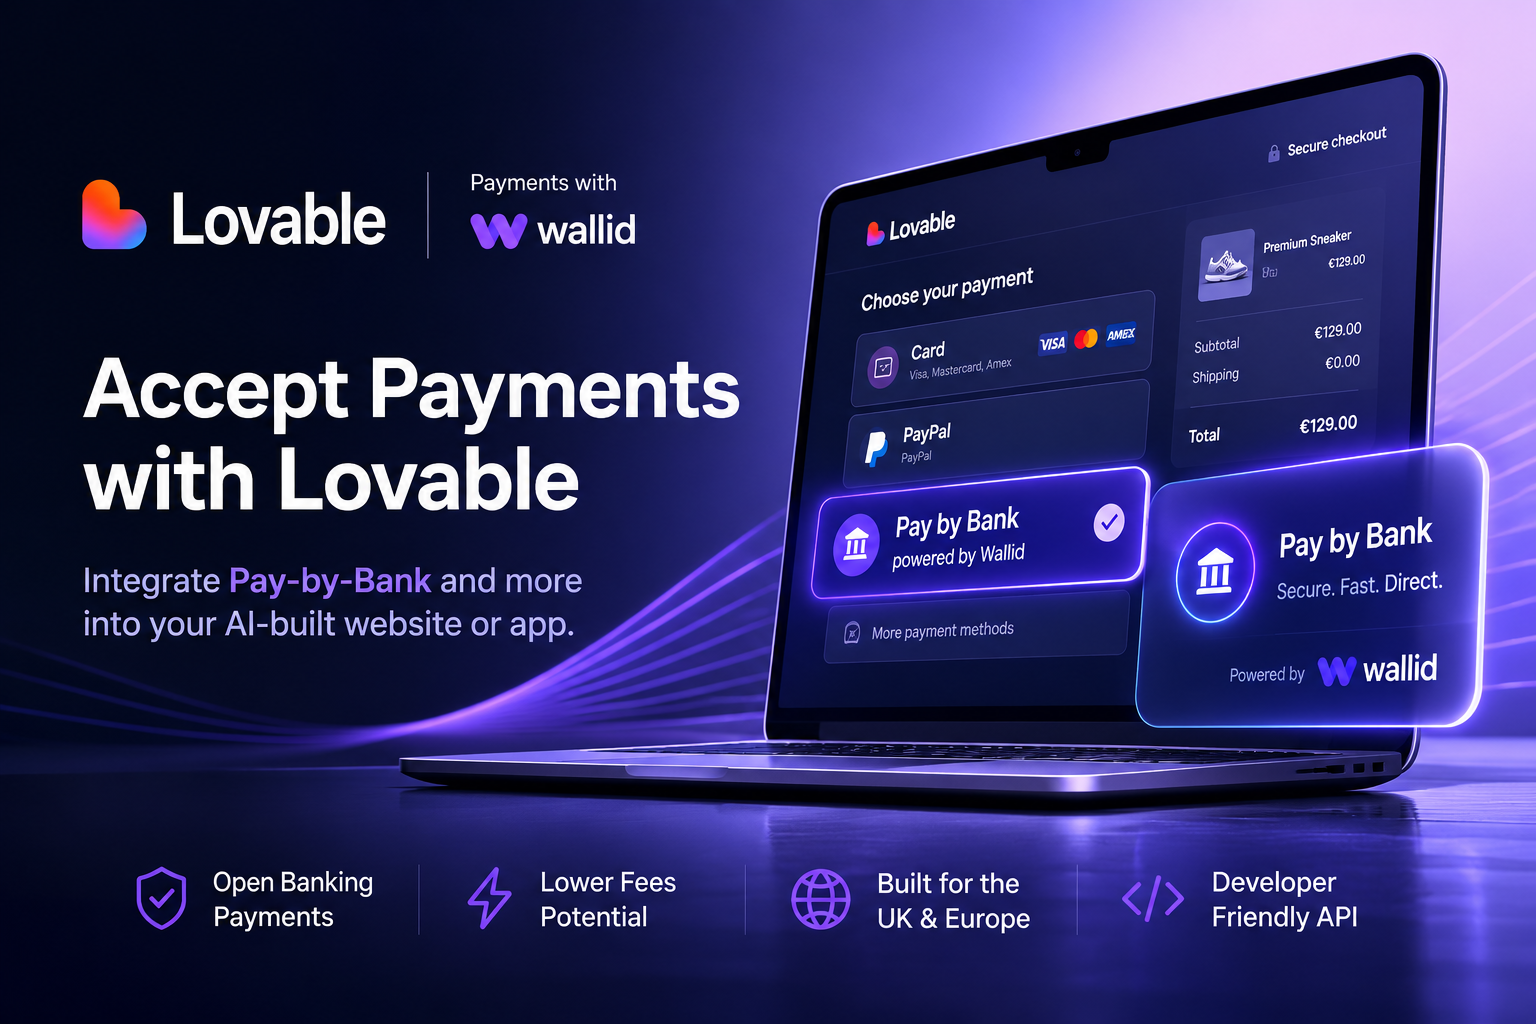
You've built your website or web application with Lovable. The design is polished, the functionality works, and you're nearly ready to launch. At this stage, most merchants run into the same critical question:
How do I actually accept payments?
Getting paid is one of the most important parts of launching any digital product or service. Without a reliable payment setup, even the best-designed application can't generate revenue. The good news is that Lovable gives you the flexibility to connect a wide range of payment providers, allowing you to tailor your checkout experience to your business model and your customers' preferences.
Whether you're selling digital downloads, subscriptions, services, or physical products, you can integrate payment solutions that align with how your customers prefer to pay.
This article explains how to accept payments on a website or web application built with Lovable, including the different payment options available and how to integrate them effectively.
Understanding Payments in Lovable
Lovable can be used to build websites and applications that accept payments, but it doesn't process payments itself. Instead, it acts as the foundation for your application, allowing you to connect external payment providers or APIs that handle transactions securely.
This means that while Lovable simplifies development, you'll still need to choose a payment provider to manage the financial side of your business.
Depending on your setup, you can accept payments through:
- Card payment providers
- Digital wallets
- Payment APIs
- Pay-by-Bank solutions powered by Open Banking
Lovable is designed as an AI-assisted application builder that helps businesses create functional, scalable applications quickly. It removes much of the complexity from development, but payments remain a separate layer that must be integrated thoughtfully.
Understanding this distinction early on helps you avoid confusion and ensures your payment setup is aligned with your business goals.
Payment Options You Can Use
There are several payment methods you can connect to applications built with Lovable. Each option has its own strengths depending on your business model and customer base.
Many businesses choose to combine multiple payment methods rather than relying on just one. This approach gives customers more flexibility and can improve conversion rates by allowing people to pay in the way they feel most comfortable.
For example, some customers prefer using cards, while others may prefer paying directly from their bank account. Offering both options can help reduce friction during checkout.
How to Add Payments to Your Lovable App
Although each payment provider has its own documentation and setup process, the overall steps are broadly similar.
1. Decide how customers will pay
Start by thinking about your customers and how they are most likely to complete a purchase.
Consider questions such as:
- Are you selling one-time products or recurring subscriptions?
- Where are your customers located?
- Do they typically use cards, digital wallets, or bank payments?
- Do you want to offer multiple payment options?
Answering these questions will help you choose the right payment provider and avoid unnecessary changes later.
2. Choose a payment provider
Once you understand your customers' preferences, select a provider that supports your business model.
Some businesses rely heavily on card payments, while others benefit from offering additional methods such as Pay by Bank. The right choice depends on your audience and how you want your checkout experience to feel.
3. Connect the payment API
After choosing a provider, you'll need to integrate its API into your Lovable application. This allows your app to securely send payment requests and receive confirmation when transactions are completed.
This step is typically handled through backend configuration or integration tools, depending on how your Lovable project is structured.
4. Create a simple checkout flow
Your checkout experience should be as clear and frictionless as possible. Every extra step increases the chance that a customer will abandon their purchase.
Focus on:
- Clear pricing
- Minimal form fields
- Easy navigation
- Transparent payment options
A well-designed checkout can significantly improve conversion rates.
5. Test everything before launch
Before going live, thoroughly test your payment setup.
Make sure that:
- Payments can be initiated successfully
- Confirmation messages appear correctly
- Orders are recorded accurately
- The experience works smoothly on both desktop and mobile devices
Testing helps you catch issues early and ensures a smooth experience for your customers from day one.
Payment Links vs APIs
When setting up payments, you'll need to decide whether to use payment links or a fully integrated API.
Payment links are a simple solution for businesses that don't need a built-in checkout. They're commonly used by freelancers, consultants, agencies, and service providers who send invoices or handle occasional transactions. Instead of embedding payments into your app, you send customers a secure link where they can complete their payment.
APIs, on the other hand, are better suited for businesses where payments are part of the product experience. This includes ecommerce stores, SaaS platforms, subscription services, and marketplaces.
With an API-based approach, customers stay within your application during checkout, creating a more seamless and professional experience.
Adding Pay by Bank and Using Wallid
If your chosen payment provider supports Pay-by-Bank payments through an API, you can integrate it into your Lovable application just like any other payment method.
Pay by Bank uses Open Banking technology to allow customers to pay directly from their bank account. Instead of entering card details, customers authenticate through their bank, making the process straightforward and secure.
For businesses operating in the UK and Europe, Pay by Bank can be a valuable addition to your payment setup. It doesn't necessarily replace card payments but works alongside them to give customers more choice.
Wallid is one example of a Pay-by-Bank solution designed for this purpose. It enables businesses to accept account-to-account payments through Open Banking, helping merchants diversify how they accept payments.
By including Pay by Bank as part of your checkout, you can reduce reliance on a single payment method and create a more flexible payment experience for your customers.
Common Mistakes to Avoid
Many payment issues aren't caused by Lovable itself but by decisions made during planning and implementation.
One common mistake is waiting too long to choose a payment provider. If you leave this decision until the end of development, you may need to redesign parts of your checkout to accommodate your chosen solution.
Another issue is offering only one payment method. Customers have different preferences, and limiting options can lead to lost sales.
Complicated checkout flows are also a frequent problem. If the process is confusing or requires too many steps, customers are more likely to abandon their purchase.
Finally, it's important to think about scalability. The payment setup that works for your first customers may not be suitable as your business grows. Choosing flexible, scalable solutions early on can save time and effort later.

